How to Paint Rocks in Watercolor: A Rock Outcrop Guide
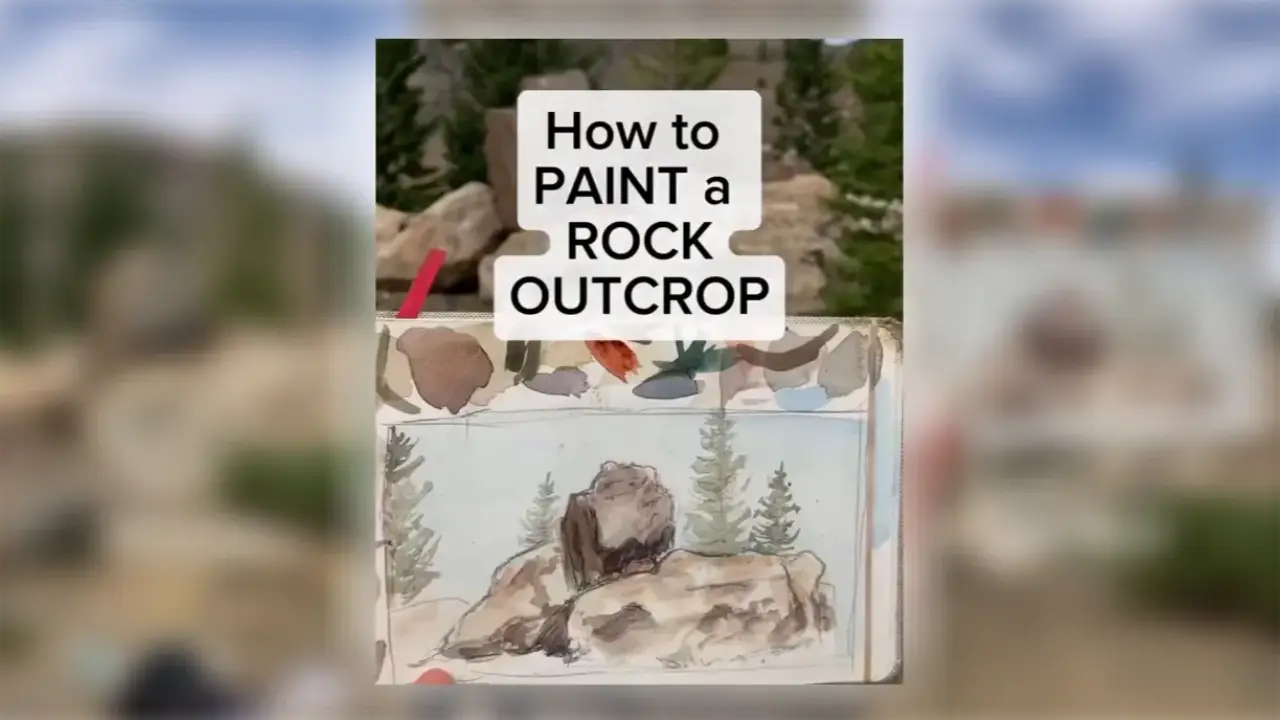
Painting rocks is challenging for two reasons: their shapes often lack clear definition, and they're made up mostly of neutral, dulled colors. Choose just a few rocks with a strong shape and good lighting, since that light source will cast shadows that help define their form.
Why This Matters
You don't need to paint every rock, just the ones that speak to you. Picking a handful with clear shape, definition, and a solid light source makes the whole painting easier to read than trying to capture every rock in a cluster. Painting a genuinely challenging subject like this also makes you a better observer and a stronger painter overall.
Rocks are so naturally varied that there's no single "correct" way for them to look, which takes some of the pressure off getting it exactly right.
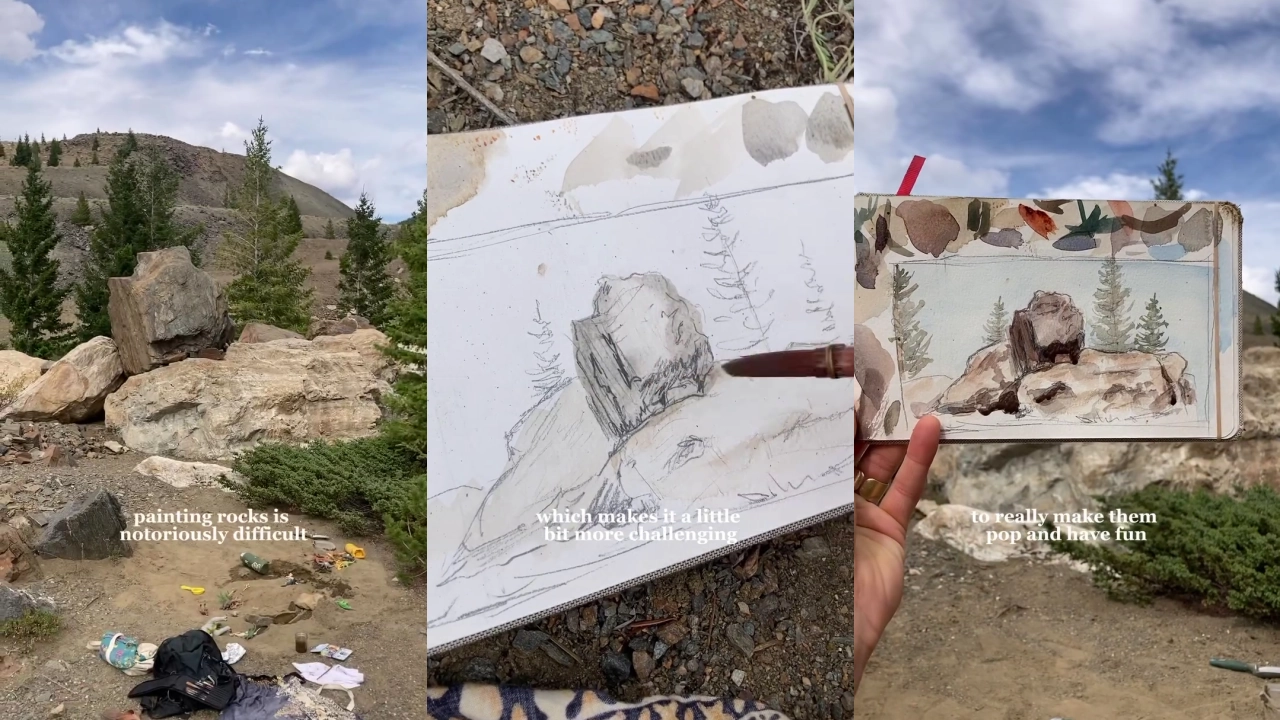
Try This
- Pick a few standout rocks, choosing ones with the best shape, color, and lighting rather than trying to paint every rock in view.
- Lay down a light wash to tone them, then use a dry brush to lift paint back off wherever you want a lighter, more reflective area.
- Let each layer dry before adding the next. Rocks are hard and defined, so a wet-on-wet approach will soften edges you actually want to keep crisp.
- Push the contrast in your shadows, even exaggerating it slightly, to give the rocks more definition and shape.
- Add in a few unexpected colors, like blues and oranges, to keep the neutral tones from feeling flat.
Ready to Build Your Watercolor Foundation?
If you're still building your observation and technique fundamentals, my Free Beginner Watercolor Class is a good place to keep building that confidence.
👉 Join the Free Beginner Watercolor Class
If you're curious about my overall approach to teaching watercolor, you can find that on my about page.