How to Sketch Clouds for Watercolor Using a One-Point Perspective Grid
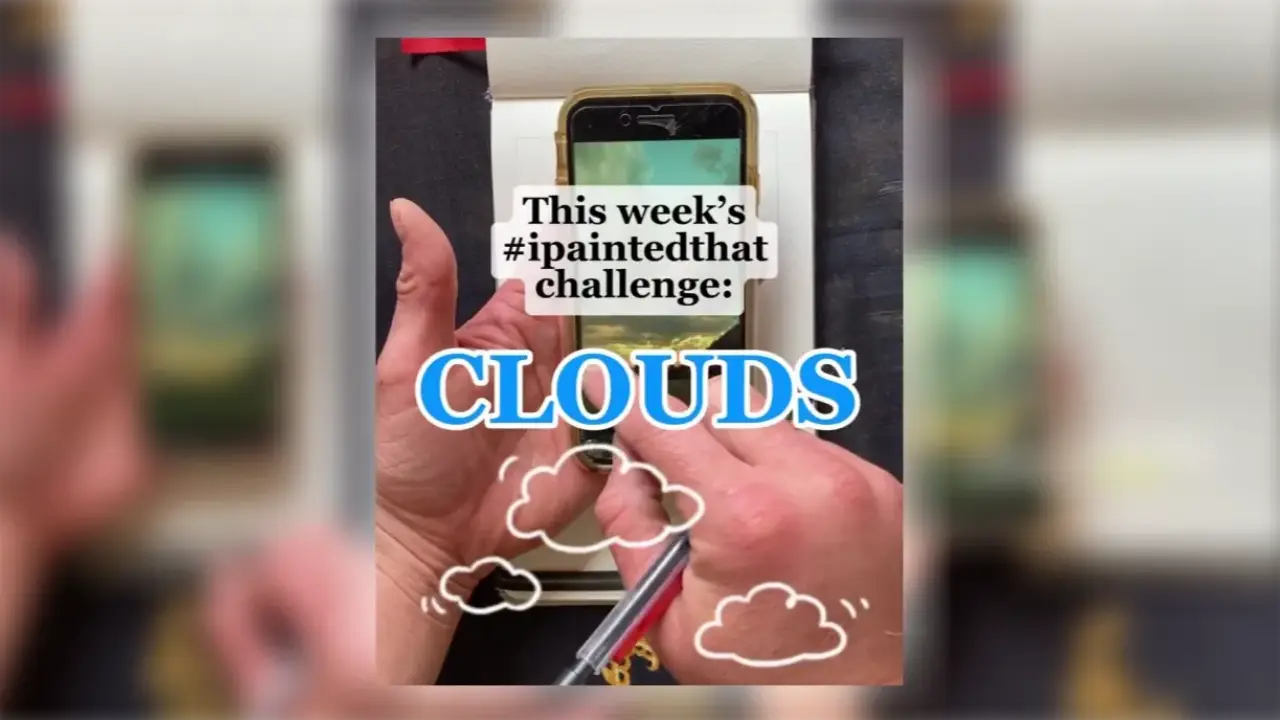
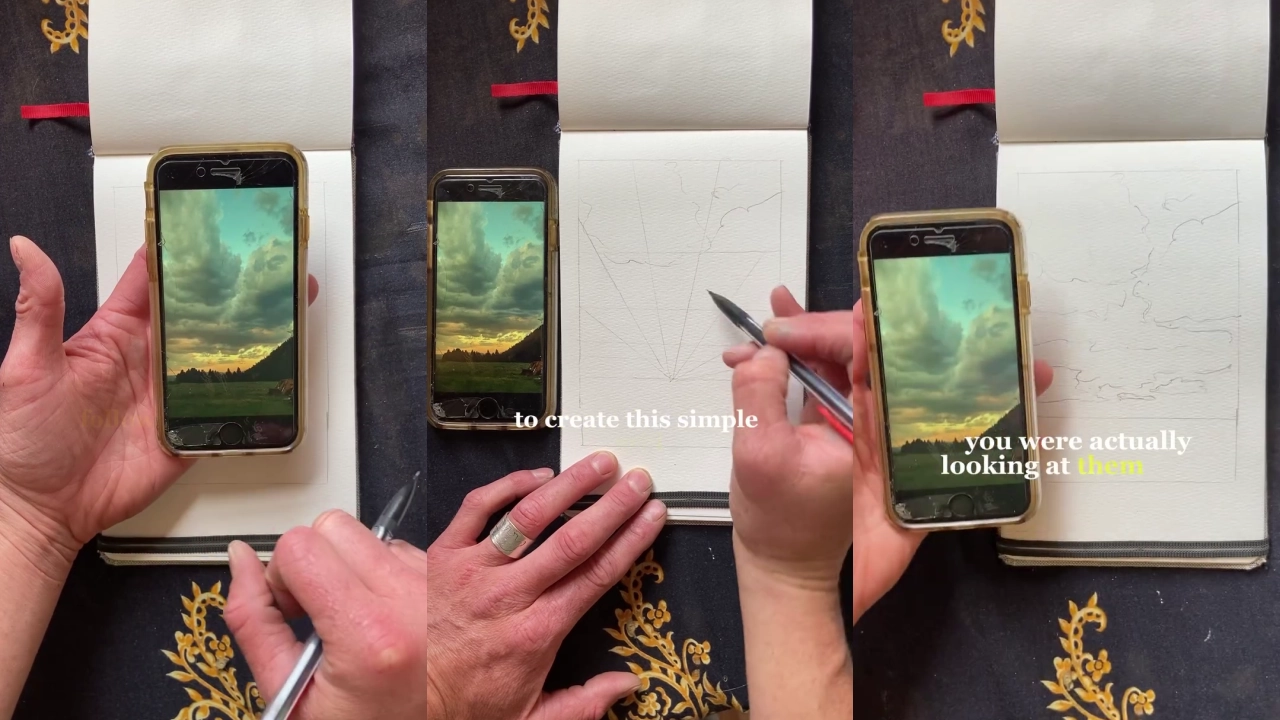
Clouds follow the same perspective rules as the rest of a landscape, getting smaller and thinner toward the horizon. To sketch them from a reference photo, use one-point perspective to draw a simple grid on your paper, then use it to translate the clouds onto the page, making them smaller and thinner as the grid lines close in.
Why This Matters
Distant clouds aren't just smaller copies of close ones. Up close, you see the undersides of clouds. In the distance, you're looking at them from the side, so you get a side profile, and that's why they thin out as well as shrink.
It's easy to forget that clouds follow these rules at all, since they're above our heads.
Try This
- Use one-point perspective to draw a simple grid on your paper.
- Use the grid to translate the clouds from your reference photo onto the paper.
- Make the clouds smaller and thinner as the grid lines close in toward the horizon.
- Note where the light falls in the sky and clouds before you start painting.
Want to Go Deeper?
If you liked this, this related Quick Tip covers what to look for when you observe clouds in the sky, including how their size and thickness change with distance:
Watercolor Clouds: How Perspective Changes the Way You Paint Them
Ready to Build Your Watercolor Foundation?
If you're still building your composition and sketching fundamentals, my Free Beginner Watercolor Class is a good place to keep building that confidence.
👉 Join the Free Beginner Watercolor Class
If you're curious about my overall approach to teaching watercolor, you can find that on my about page.