Hard vs Soft Edges in Watercolor: How to Control Each One
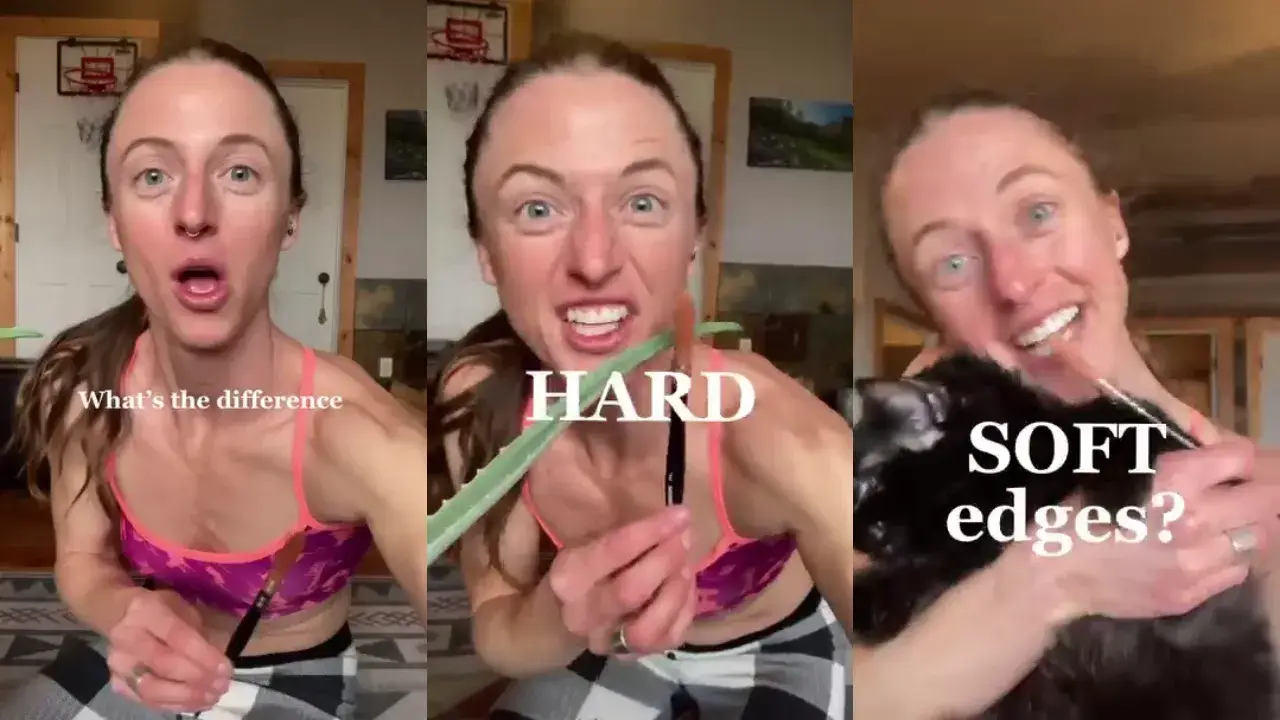
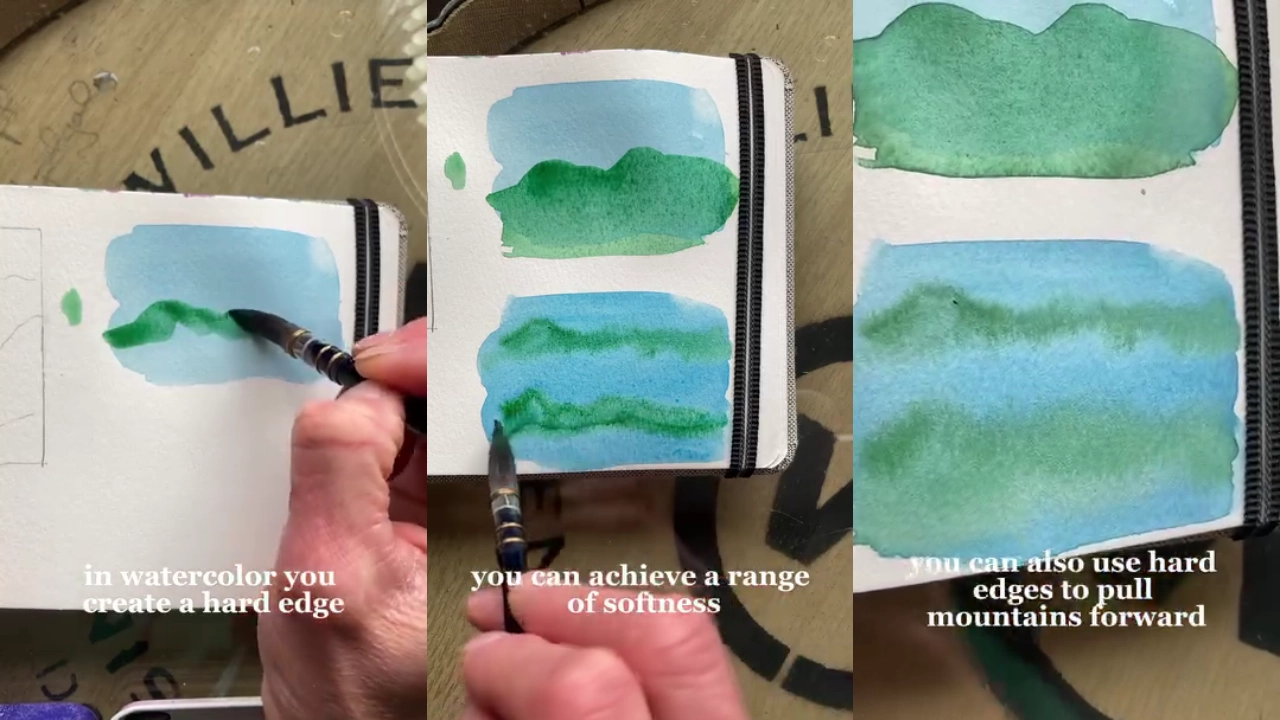
In watercolor, you get a hard edge by painting onto a dried underlayer, because nothing blends or bleeds. You get a soft edge by painting onto a wet surface, where the paint blends and bleeds. How wet or dry the underlayer is controls how soft the edge turns out.
Why This Matters
Knowing which edge you're making is what lets you get the result you want. Softness is a range, not an on/off switch: a very wet underlayer gives a very soft edge, and letting it dry a little more makes the edge a little harder. In the example image, the cloud has a soft edge where it comes over the mountain, a hard edge where it doesn't, and a mix of the two where it sits in front of the mountain.
You can also use hard edges to pull a mountain forward and soft edges to push it back.
Try This
Try each of these in your own painting:
- For a hard edge, paint onto a dry underlayer. Be patient and let the layer dry fully, or you'll end up with an unwanted soft edge.
- For a soft edge, paint onto a wet surface. The paint will blend and bleed.
- Adjust the softness with timing. The wetter the underlayer, the softer the edge, and each bit of drying makes it a little harder.
- Use edges to place things in space. Hard edges pull a subject forward, like a mountain, and soft edges push it back.
Want to Go Deeper?
If you liked this, this related Quick Tip goes further into soft edges, specifically how to keep one from blooming into a cauliflower shape by balancing the pigment on your brush:
How to Avoid Watercolor Blooms in Soft Edges (Cauliflower Effect)
Ready to Build Your Watercolor Foundation?
If you're still building your technique fundamentals, my Free Beginner Watercolor Class is a good place to keep building that confidence.
👉 Join the Free Beginner Watercolor Class
If you're curious about my overall approach to teaching watercolor, you can find that on my about page.